Description of the Unit –
Students will explore the history of found object sculpture and create numerous sculptures of their own in a play-based approach with a variety of objects.
Activity statement –
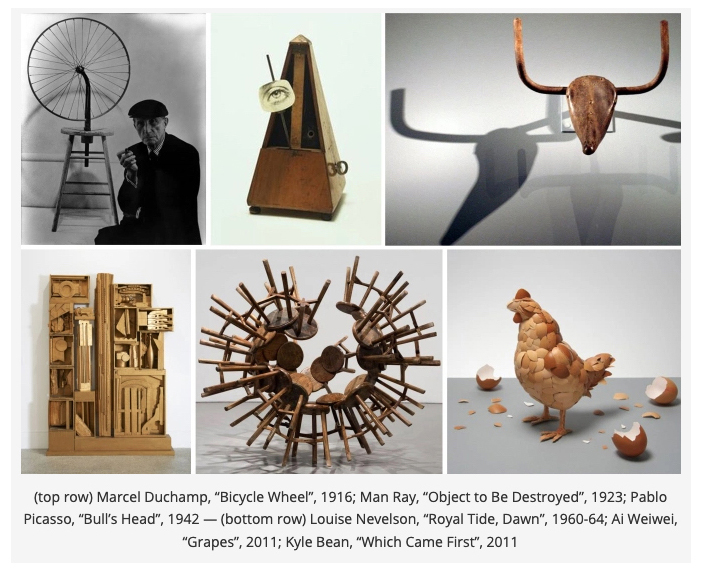
Found object sculptures are comprised of everyday objects. The history of found object sculpture is fascinating. It originated with the Dada movement, as artists like Marcel Duchamp and Man Ray would sometimes simply display maybe one or two objects and challenge observers to accept the object as art; these artists called their art Readymade. Challenging the status quo always results in change, and this new challenge was no different, as from this sprung a new form of art, and today we can see found object sculpture from artists as diverse in their approach as to almost create new movements by themselves. Such artists as Louise Nevelson, Robert Rauschenberg, Betye Saar, Michael Landy, Cathy Wilkes, Sarah Lucas and David Lipson. Yes, another reason this unit is so exciting for me is that as you can see, the number of women that have worked within this movement is exemplary.
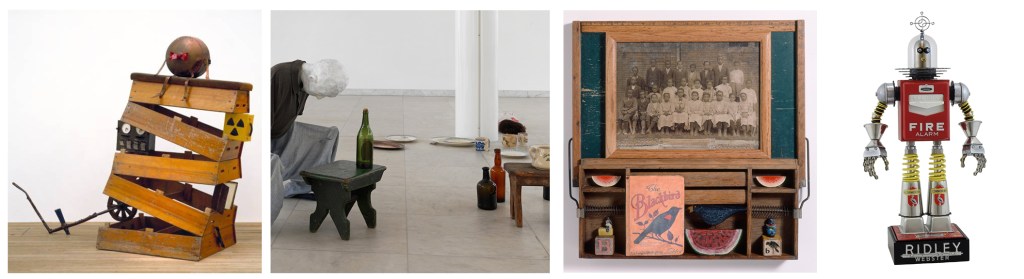
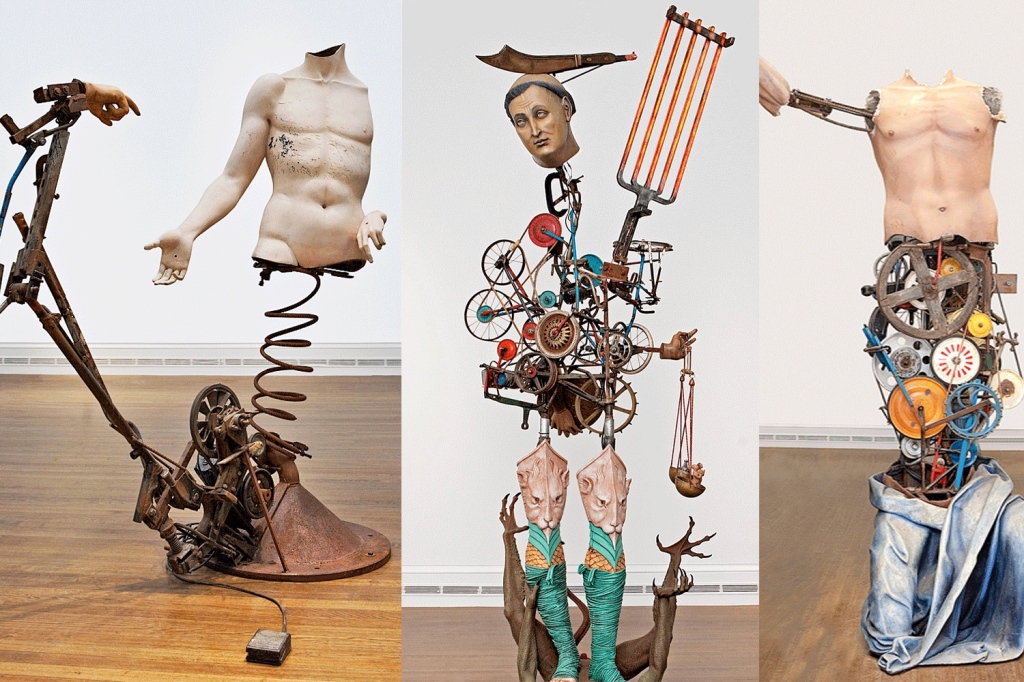
This is a wonderful opportunity for students to simply observe the vast and various examples of found object sculpture and react to what they see. They are especially mesmerized by the sculptures of Michael Landy and David Lipson; you can see how they become inspired by these artists when they venture into their own sculptures. I’ll talk a little more about the process of making the sculptures below.
Goals – Students should…
Understand:
- Ways in which everyday objects can become a work of art
- That a person can challenge conventional ideas about art simply by thinking of art in new ways
Know:
- What a found object sculpture is
Be able to:
- Identify a found object sculpture
- Play with objects to create a sculpture
Objectives –
Students will: Use their observations of various found object sculptures to play with their own creations over a series of class periods.
Resources and materials –
- Examples of found object sculptures throughout history
- A large, wide array of found objects (I continuously collect items throughout the year, as well as solicit the kids to bring some from home)
- Masking tape
- Hot glue
- Hot glue guns
Questions –
- (While looking at examples of found object sculptures)
- What everyday objects do you see in (X) sculpture?
- How do you think the artist attached these objects to one another?
- Did the artist use the objects to create some sort of scene, or is this more of an abstract sculpture?
- What do you think this sculpture might mean?
- Do you like this sculpture? Why or why not?
- Do you think this is art? Why or why not?
Evaluation –
Evaluation for this unit relies a lot on students’ questions and observations, and we spend a lot of time viewing and discussing the many examples of found object sculpture.
Additionally, I observe the students’ process in the weeks we dedicate to making found object sculptures. This extended process gives students time to go from spontaneous, (sometimes clumsy—which is perfectly wonderful) attempts, to more planned, refined pieces—all part of the play-based approach!
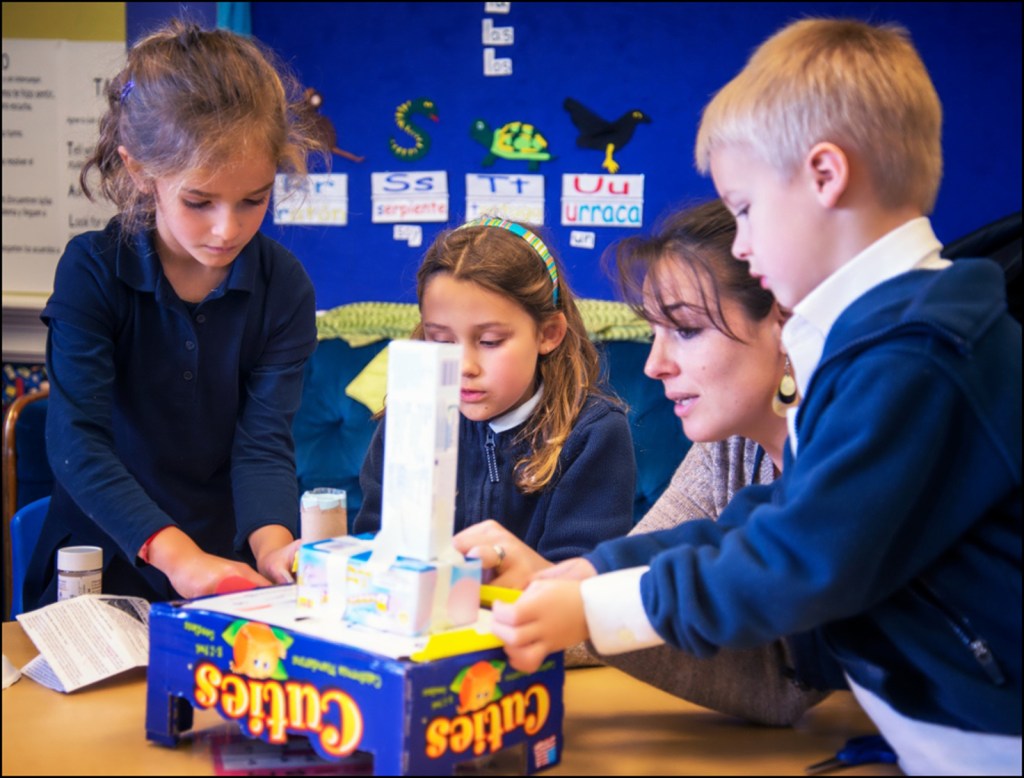
Students’ first attempts are often clumsy, and this is perfectly fine. The point is for them to play, to experiment, and to discover what works and what doesn’t. The students will use masking tape at first to attach the objects to each other. Even though it not elegant looking, this is quicker and easier for students to manipulate, and therefore experience that satisfaction of making their first sculptures. At six years-old, this is quite a lot of fun! It also makes it easy to pull the objects apart and reuse.

Eventually, when students get better at balancing their sculptures, as well as composing them, they will get to construct a “permanent” one using hot glue as the adhesive. I do not let them actually use the hot glue guns, however, as it’s still too dangerous at their age. They line up with their objects, having already planned its construction, and guide me on how to glue it together. I have to admit I LOVE this part of the process! Each little person expresses their delight as they direct me, I had one child once say, for example, “look at how cool this is going to look!” It’s a one-on-one experience with each student that I cherish.


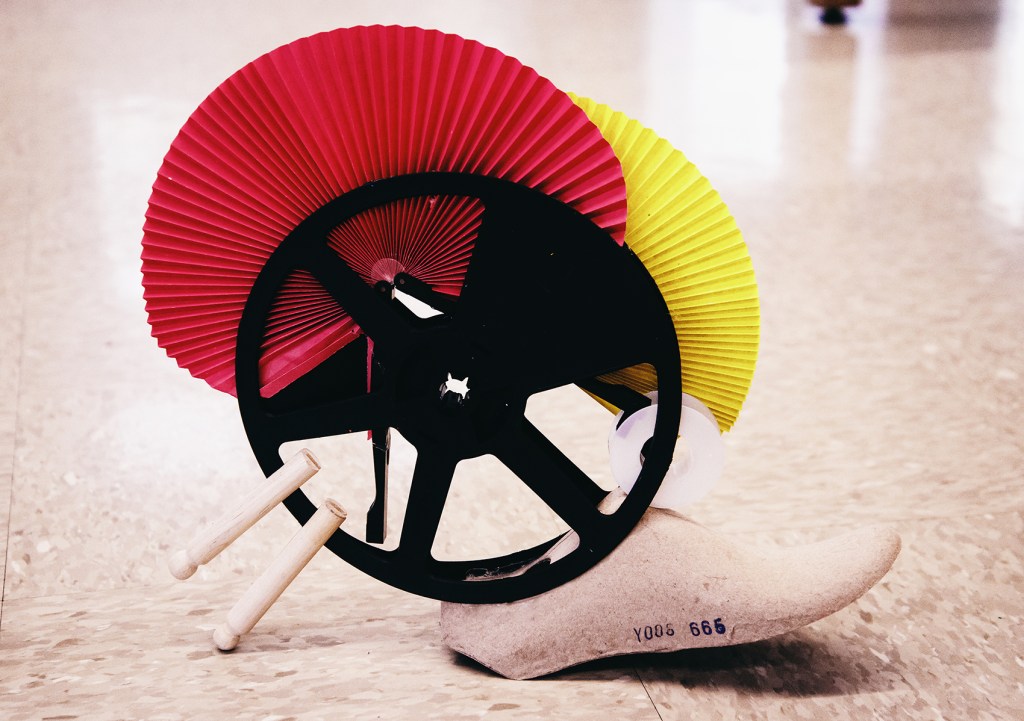
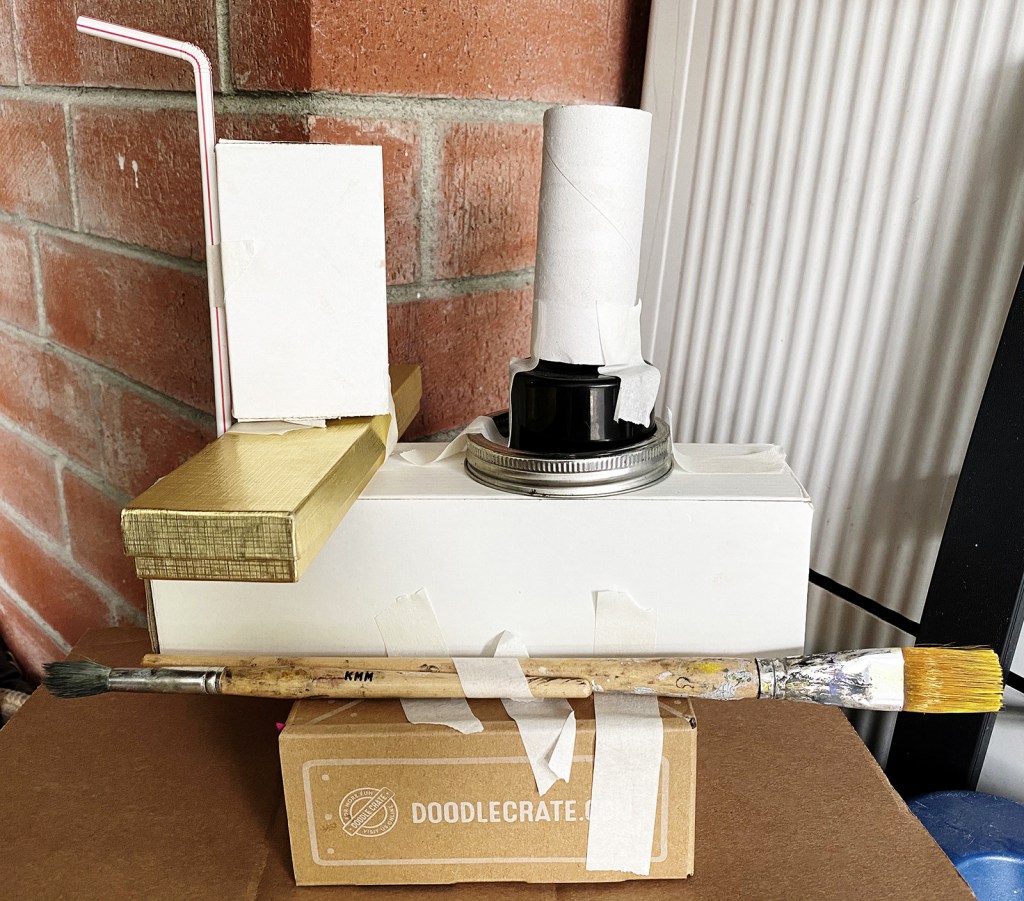
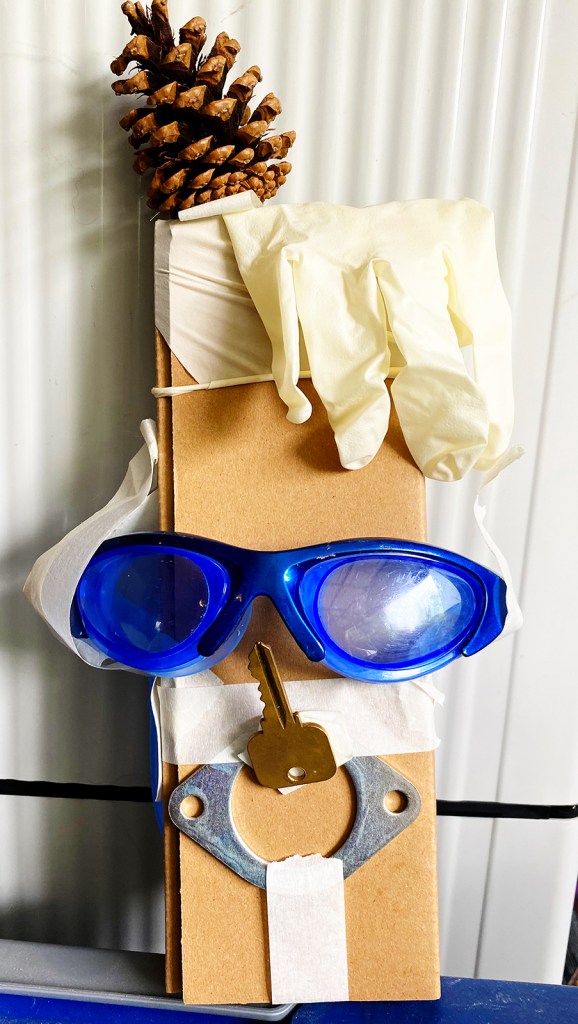
The last experience in this unit is a fun, final challenge: try to create a free-standing sculpture that has no adhesive at all, rather your manipulation of the objects puts them together in a way that they attach to one another on their own. At this point the students begin to appreciate a more minimalist approach, rather than wanting to pile on all sorts of objects as they do in the beginning. (interesting, because initially the Dadaists also went for a minimalist approach.) You can see examples of this below: