Description of the Unit – Students will explore the monochromatic, found-art assemblages of Louise Nevelson, and create their own in small groups.
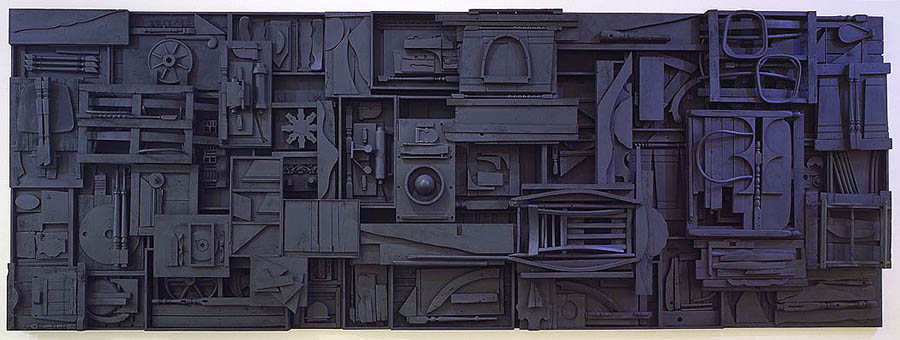
Lessons for visual art education – where it's about the process, not the product

Description of the Unit – Students will explore the monochromatic, found-art assemblages of Louise Nevelson, and create their own in small groups.

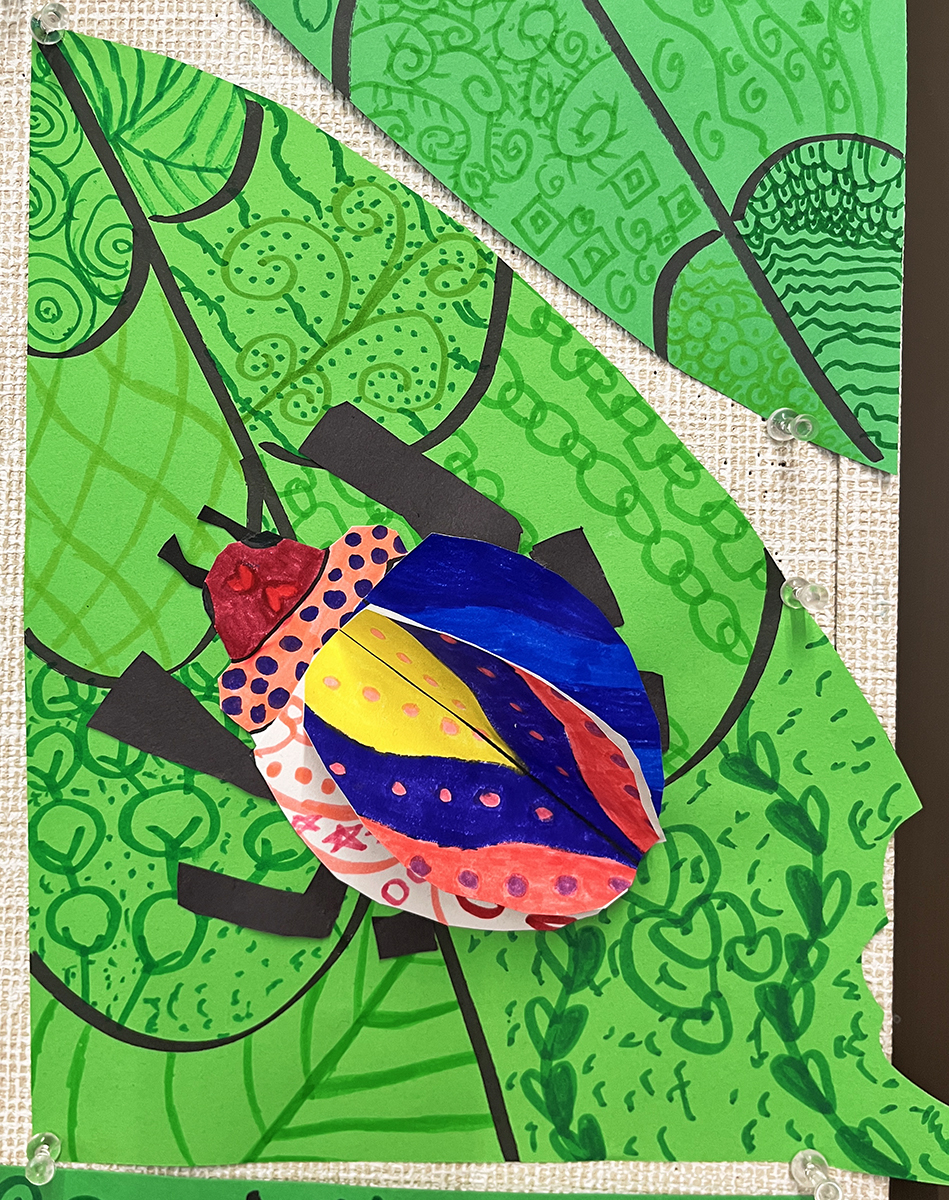
Description of the Unit – Students will explore creating a three-dimensional paper sculpture of a bug on a leaf. The bug and leaf will be embellished with all sorts of patterns and colors to reinforce these artistic elements.

Description of the Unit – It’s a fun experiment to introduce students this young to the concept of multiple perspectives. To approach this concept in a playful way, students created a Picasso-inspired oil pastel illustration of his beloved dog Lump.
Continue reading “Kindergarten – Picasso’s Dog Lump”
Description of the Unit – Second grade students explored Vincent van Gogh’s unique style of painting by observing and then recreating his famous Sunflowers still life.
Continue reading “2nd Grade – Recreating Vincent van Gogh’s Sunflowers”
This is an exciting, multistep exploration of shape and color inspired by one of my favorite artists, Paul Klee. This unit is an extension of a previous one, which you can see here: https://anitasagastegui.com/2020/06/08/3rd-grade-paul-klees-magic-square-series/. The difference being that this time students are creating mosaic collages rather than drawings, so we emphasize the terms background, middle ground and foreground, as well an understanding of overlapping elements.
Continue reading “3rd Grade – Cityscape Mosaics inspired by Paul Klee”
Description of the Unit – To celebrate Halloween, students chose a famous painting featuring any kind of portrait, such as one of Vincent van Gogh’s or Frida Kahlo’s self-portraits. They recreated the painting onto posterboard, cutting out the area with the face so that they could ultimately “wear” the painting as a Halloween costume!
Continue reading “7th & 8th grade – famous painting halloween costumes”
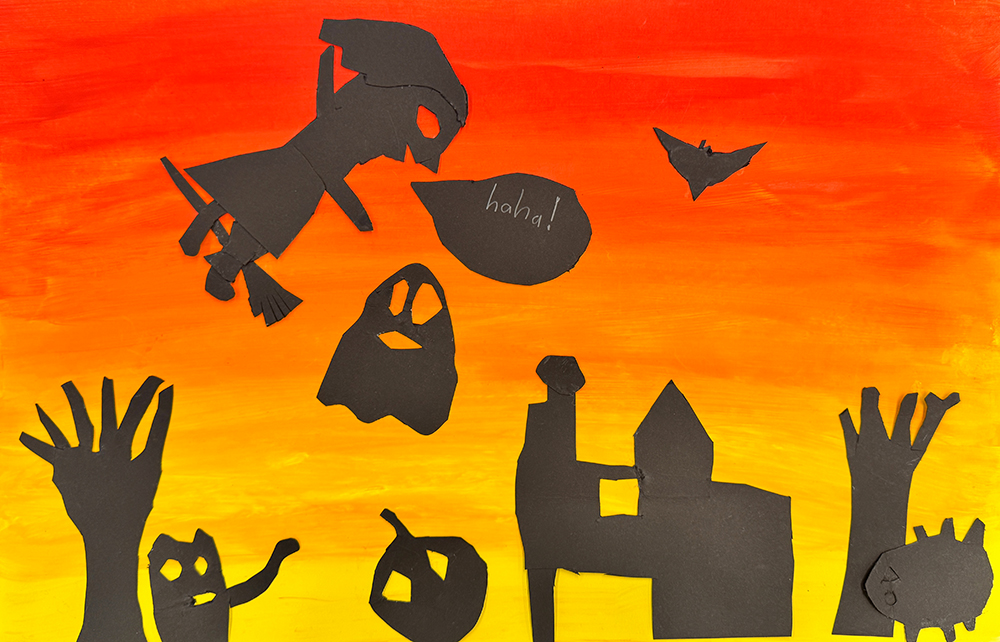
Description of the Unit – Following our previous unit on shape, this unit will emphasize what students learned while introducing them to positive and negative space, and the way they interact with one another. We will also reinforce the concepts of cool and warm colors via the expression of a warm-colored sky.

Description of the Unit – Students will be “introduced” to Monet and will learn all about the ways he approached painting the world around him. Students will try to recreate his painting of water lilies, paying attention to their brushstrokes and the colors they choose.


Description of the Unit – Students explored the interesting history and dramatic artistry of masks of First Nations people of the Pacific Northwest. Taking inspiration from the colors and patterns observed in these masks, students made their own masks primarily using…egg cartons!


Activity statement – 7th and 8th grade students developed their pen drawing skills via the illustration of a landscape.

