Description of the Unit –
This is one of my favorite art units to teach, because it involves one of my favorite art forms to practice: linoleum block printmaking. There is something so satisfying about carving through that soft linoleum block, watching the shavings curl off the blade. Students love this art form, too, and always request it every year (I offer it as an elective).

Activity statement –
The primary consideration when teaching this unit is to guide the students to consider positive and negative space, and how it is expressed in their designs. Positive and negative contrasts are crucial to a successful print design. All relief prints rely on the balance between the space that has been extracted versus that which remains. The spaces remaining are those that will eventually be expressed in color, while the extracted space will be expressed by the paper. When beginning with printmaking students need to visualize this, and so I have them practice with draft illustrations of their ideas first, so we can review together how the designs will translate into prints.
Goals – Students should…
Understand:
- That their designs are essentially relief sculpture, and that the extracted pieces of block will be the negative-space expression of their prints.
Know:
- Which way their design will print when carving some spaces and leaving others
Be able to:
- Create at least one finished block print
Objectives – Students will:
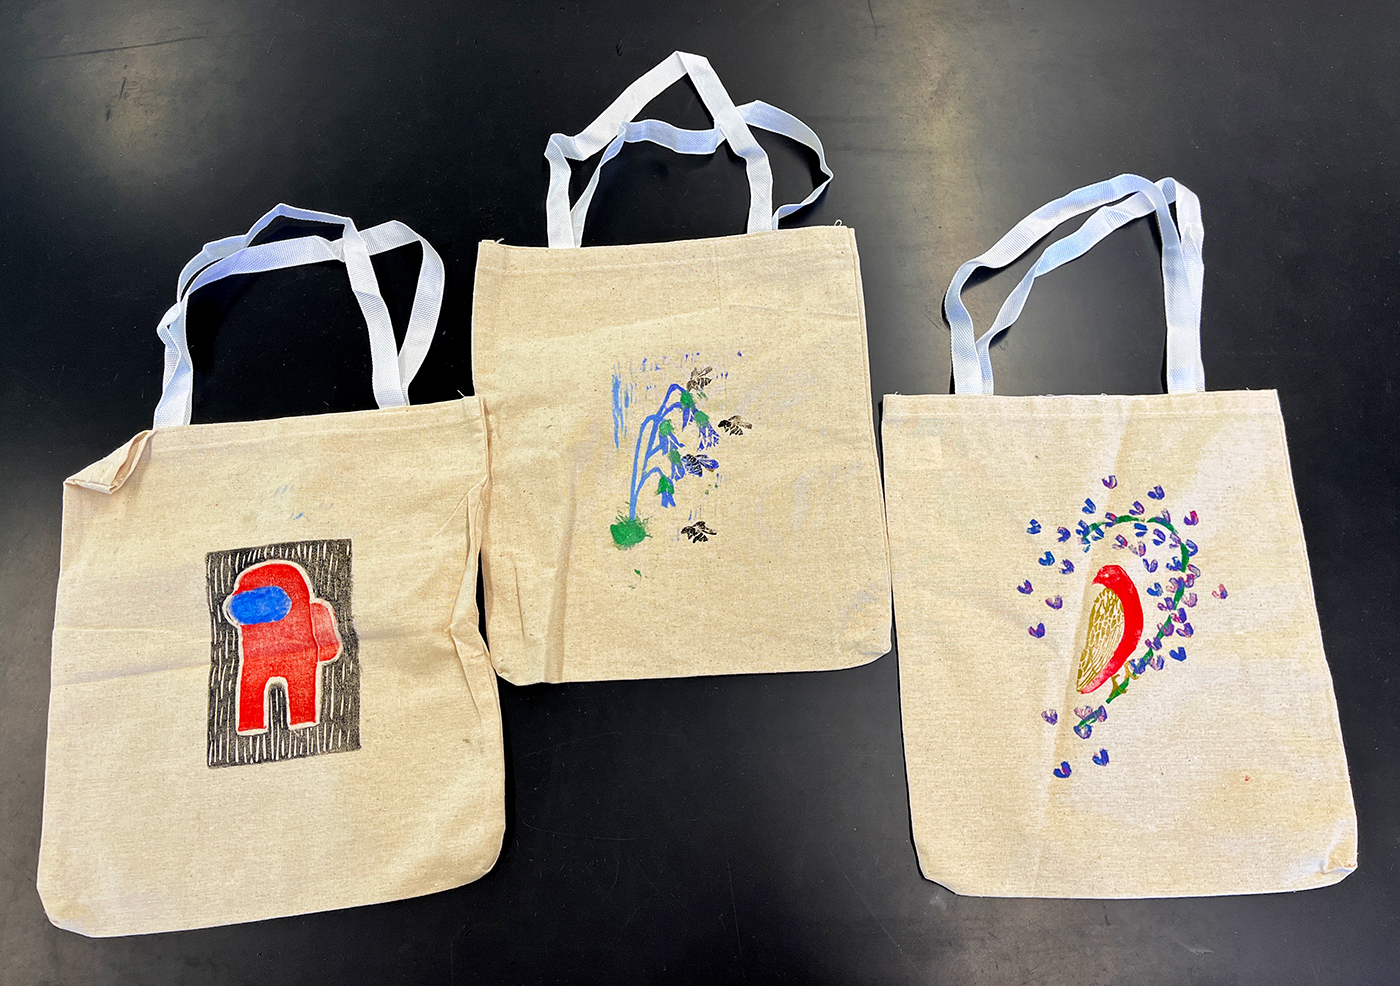
Design and create at least one linoleum block print to print on paper and, if willing, canvas bags.
Resources and materials –
- Paper
- Tracing paper
- Soft graphite pencils
- Bone folders
- Sharpies
- Linoleum blocks specifically for printmaking (plus more for practicing on)
- Carving tools (cutters) for lino block printing
- Xacto knives
- Non-slip carving plate
- Self-healing cutting mats
- Paint trays
- Paint brayers (rollers)
- Printing paint
- Nice paper for printing on
- Canvas bags (optional)
Steps –
- Using scratch paper, students practice drawing designs until they are happy with a final design.
- On regular drawing paper students carefully draw the design for their print. Remind students that for this step drawing details (such as texture), is not necessary.
- Using soft graphite pencils and tracing paper, students trace over their designs
- Carefully placing their designs over the linoleum blocks (so as not to blur the images), students use bone folders to rub their drawings onto the blocks. This will be a reverse image of what they drew.
- If students choose to, they may go over the pencil rubbing in sharpie to maintain the design intact as they carve. They may also choose to apply detail to the drawing at this time, such as feather texture on a bord, or bark texture on the bark of a branch.
- Students will now practice carving on a small piece of linoleum. Ensure students try all the different cutters, and that they try carving both straight lines and curves. Encourage students to move the block itself when carving curves.
- Students carve into their designs, using Xacto knives to cut out pieces that need to be excised from the linoleum.
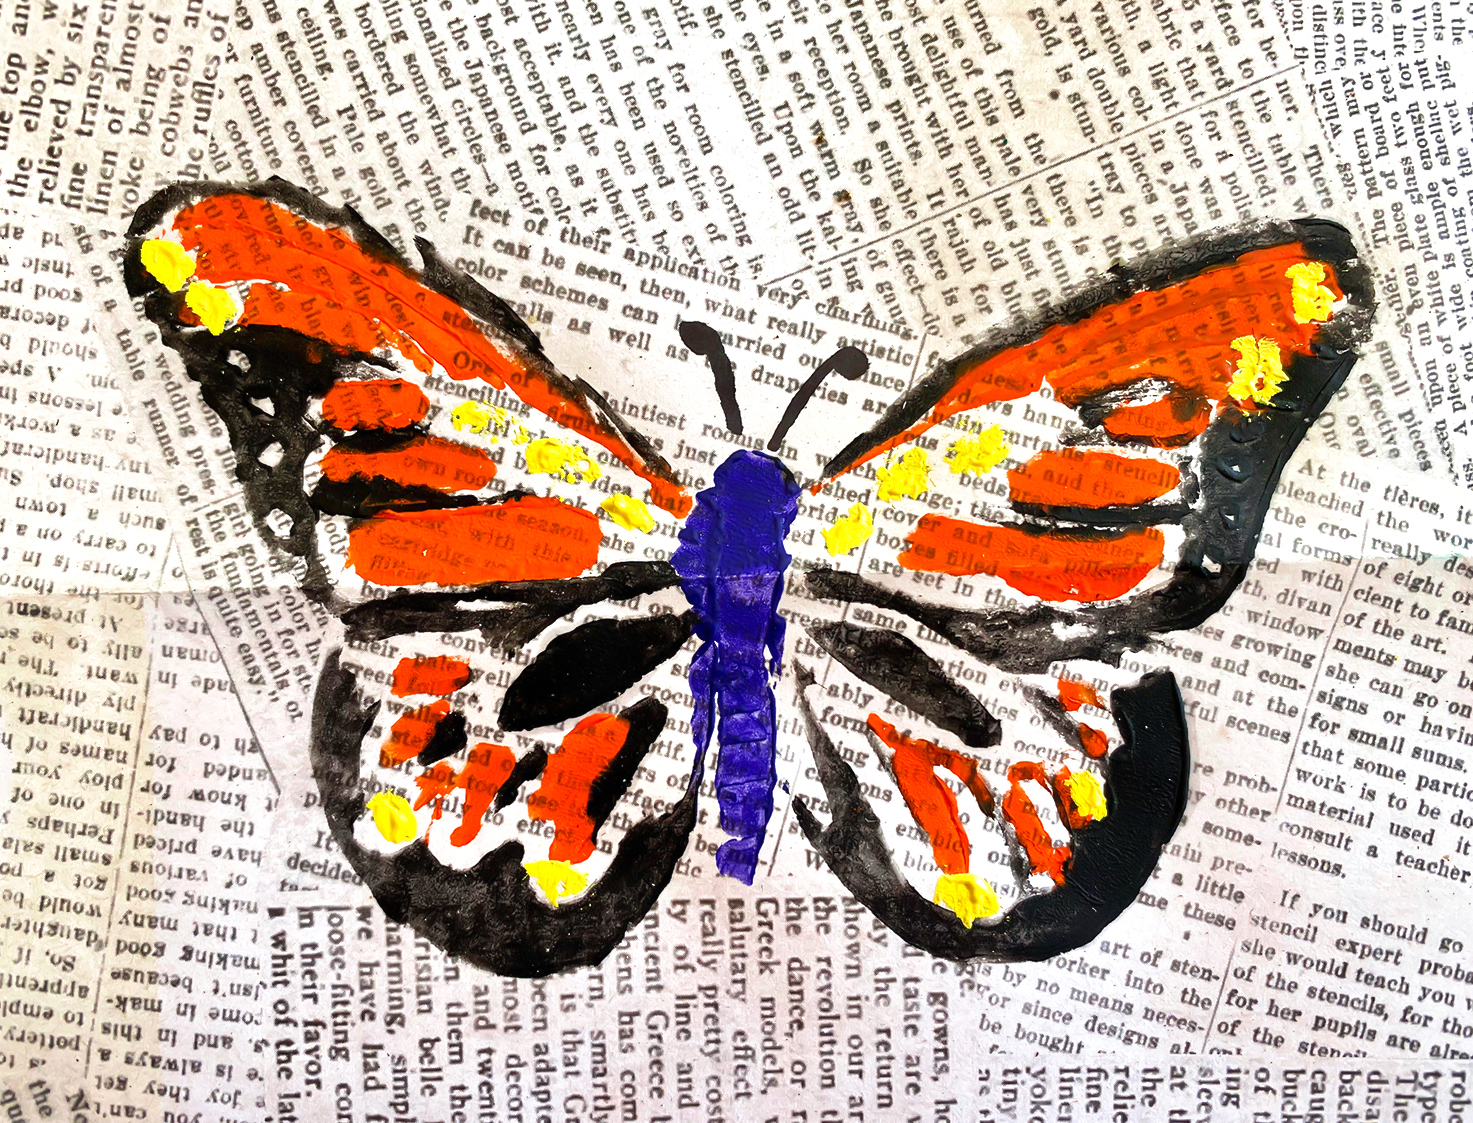
- Now students begin to paint. Students may play with the paint to create mixtures of color or lay the paint on the tray so that when rolled with a brayer creates an ombre effect.
- Artists have different preferences when laying paint on the block: some prefer to use the brayer to roll paint over the block, others prefer to lay the block on the tray and press paint onto the block. Students can decide what they prefer.
- Students carefully press the blocks onto paper, a few times, mindful that the first print may be too coated in paint, so the second or third prints might come out best. To press the print onto paper, they may use a bone folder or clean brayer.
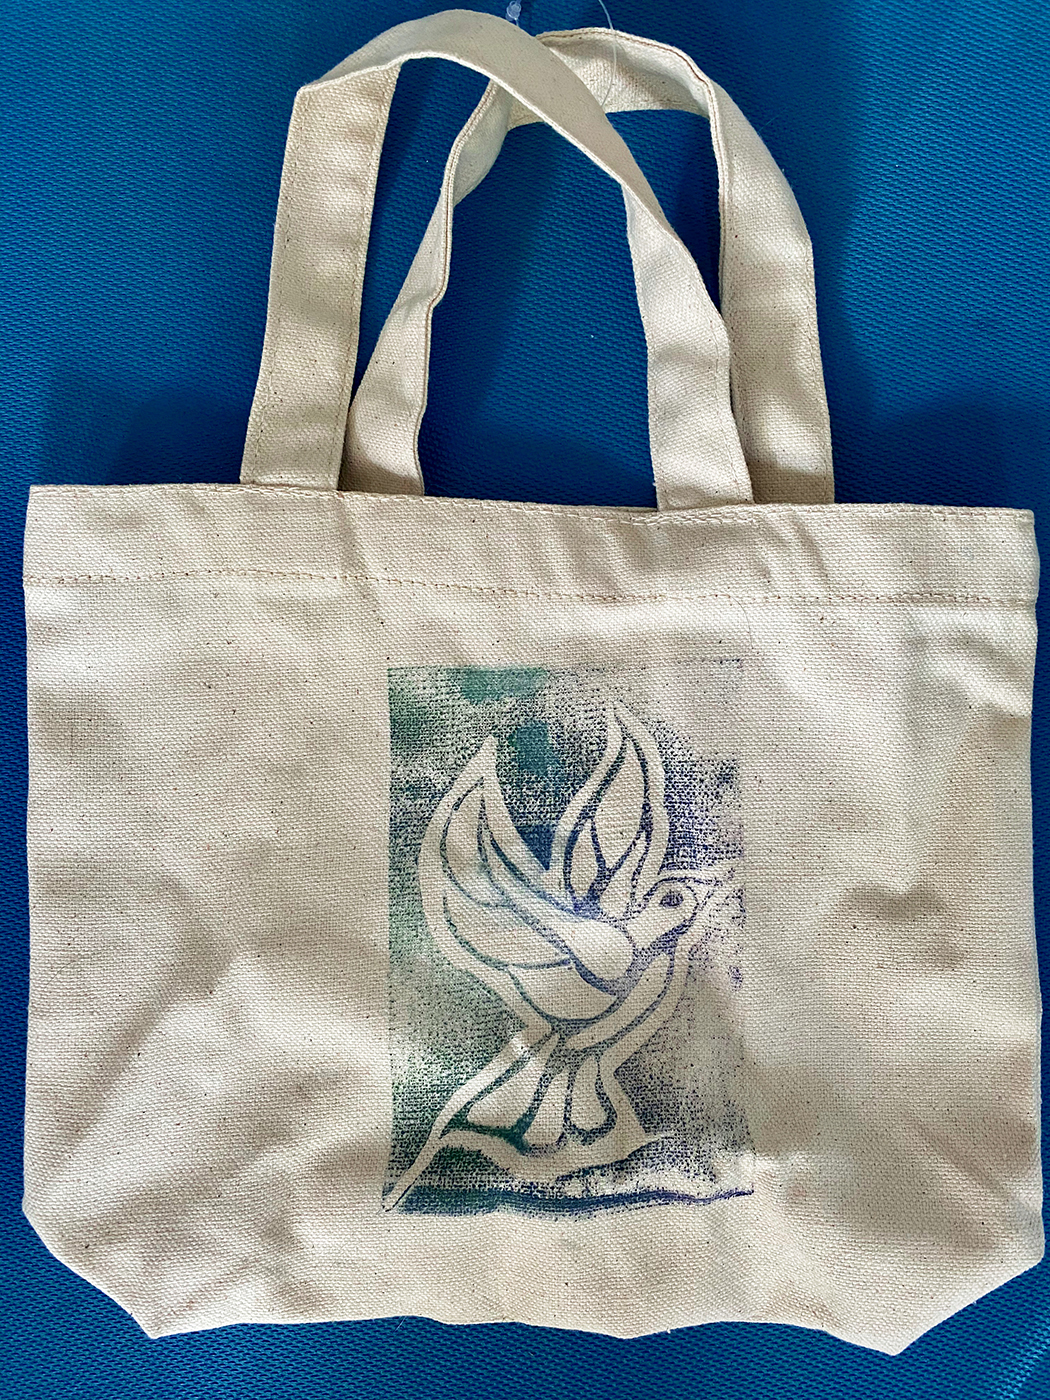
- Once students have made several prints, decorating and embellishing in any way they please, they may try on a canvas bag of they wish.
Evaluation – Did students:
- Design an image that effectively expresses positive and negative space?
- Carve a successful block print?
- Use the print in various expressions?
Informal:
- Student questions
- Group discussions
- Oral responses to essential questions
- Elaboration and risk-taking
- At least one completed print