
Description of the Unit –
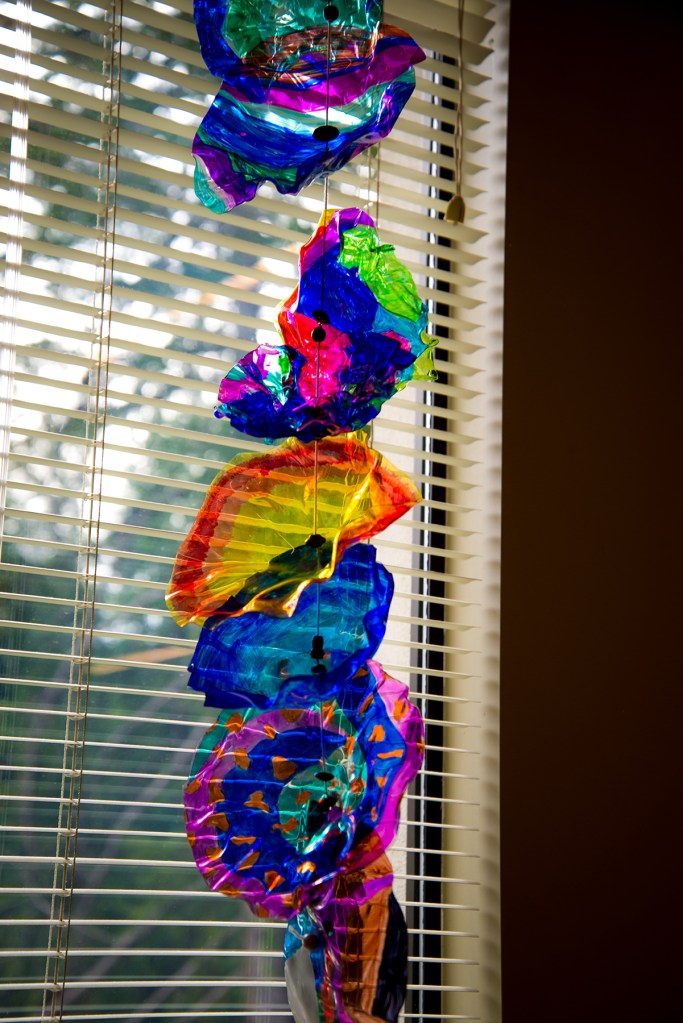
This unit focuses explicitly on Dale Chihuly: his life, his art. The artmaking pursued in this unit is inspired by one of Chihuly’s most well-known themes: the bowl.
Activity statement –
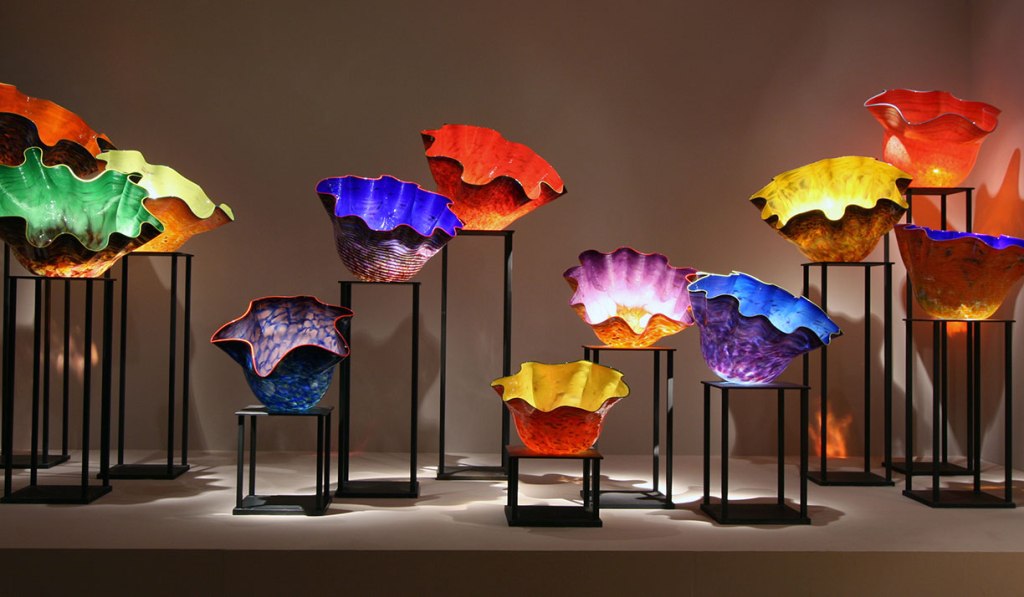
Play, experimentation and innovation are the key ingredients in Dale Chihuly’s artmaking process. His magical, fascinating glass sculptures and installations never fail to mesmerize the viewer. According to his site (https://www.chihuly.com/life), “(Chihuly) pioneered a new way of working, utilizing gravity and centrifugal force to let molten glass find its shape in its own organic way. Asymmetry and irregularity are a defining principle of his work.”
His pieces dance with space, between their physical shapes and the shape of the negative space surrounding them. His pieces are also bold statements of color, with the medium of glass lending the colors a luminous, otherworldly quality.

Even though in this unit the students practice making bowls à la Chihuly, we delve deep into his installations, talking about the process of making one, and reflecting on the very public, immersive nature of art installations. We view several videos of Chihuly at work, and discuss how he employs the team approach to glass blowing to make his art, and what students think about having others work on “your” art. (Here links to a couple of the videos we have enjoyed: https://www.youtube.com/watch?v=HV2pEZPy5lI and https://www.youtube.com/watch?v=XxgIEeIBCFo.)
Goals –
Students should…
Understand:
- What is meant by “team approach” to glass blowing
- Some of the processes and tools involved in glass blowing
Know:
- Who Dale Chihuly is and some of the works he has created
Be able to:
- Identify Chihuly’s work
- Talk informedly about the way Chihuly works
Resources and materials –
- Examples of Chihuly’s work
- Videos on glass-blowing and on Chihuly’s art
- Sheets of Duralar
- Circle stencils
- Any medium that colors well on Duralar (we like to use anything from colored sharpies to model toy paints)
- Embossing, or heat, guns
- Jars, vases or bottles to set the Duralar on while heating
- Masking tape (to tape the Duralar to the jar while heating)
Questions –
- What do you think about the way Chihuly first came about making glass art? How much experimentation do you think is involved in making any kind of art? How much is making art about play? Can you elaborate?
- What do you think of the way Chihuly approached glass art?
- What is meant by innovation in art making? Can you think of other examples of innovation in art making?
- What do you think of the team approach to artmaking?
- What do you think about artwork being ascribed to one artist when created by a team of people?
Evaluation –
- Discussion participation
- Answers to essential questions
- Finished piece


Lovely!
The Duralar says it’s heat resistant. Is this the same one you used and do you just have to get it pretty hot to form it?
Hopefully my previous reply was helpful? 🙂
Is the heat resistant Duralar linked the correct type? Do you just have to get it pretty hot to mold it?
The plastic definitely melts. Depending on the strength of the heat gun, some take longer to shape than others. However, the direction one points the heat gun, and how it is moved along the plastic also affects melting time. As for the Duralar, most brands should work, but here is a brand we often use: https://www.amazon.com/Grafix-P05DC0912-Pad-Applications-Transparencies/dp/B002542SZY/ref=sr_1_11?crid=3NDB9X9UPJC6E&keywords=duralar&qid=1706387167&sprefix=duralar%2Caps%2C168&sr=8-11&th=1.
Good luck and tell me how it goes!
are there step by step instructions on how to place the duralar on a jar/bowl and the heat8ing source? Id love to do this with my students:)
Thank you for your question, Stacy! We use circular stentils to cut the duralar sheets into large circles, then we place the cut duralar on top of the BASE of a heat resistant, sturdy bottle or vase–we use a bunch of glass vases that I have in the art studio. We usually add a bit of masking tape to keep the duralar in place. Once on the base of the vase or bottle you can use the heat gun to mold the duralar into the shapes you desire. If you have any more questions, please don’t hesitate to reach out! ~Anita
Can you use a blow dryer on a hot setting?
I’ve never tried a blow dryer, but of one gets as hot as the heat guns, I don’t see why not. If you give it a try, please let me know how it worked out for you! Thank you for visiting the site.
What a great project!
May which point do you add the color? Once it’s already molded? Or before? If we use sharpie markers, I can imagine it would be hard to color once they’re shaped.
indeed, you definitely want to color BEFORE heating. Sharpies worked well for us, but glass paint also works well. Good luck and thank you for reading!
We add the color as the first step.
Is there a specific mil size we should use?
I would like to help you, but I’m not sure what you mean by a mil?
I think they mean thickness of the duralar. Most come in .003/.005.
Got it! We have used various sizes, but I’ve noticed the thinnest melts too quickly.
what tool did you use to cut the duralar?
Just scissors. It’s very easy to cut. 🙂
Love this project! Does it matter what side of the plastic heat is applied? The side with marker or the side without?
I’m so glad you’re going to try it! No, it doesn’t matter which side. Please let me know how it goes!
how sturdy is the bowl after it’s heated and cooled?
Imagine a disposable plastic bowl like you might get for a picnic—about like that.
Thank you. I think my summer campers would like this activity.