Description of the Unit – It’s a fun experiment to introduce students this young to the concept of multiple perspectives. To approach this concept in a playful way, students created a Picasso-inspired oil pastel illustration of his beloved dog Lump.
This is an exciting, multistep exploration of shape and color inspired by one of my favorite artists, Paul Klee. This unit is an extension of a previous one, which you can see here: https://anitasagastegui.com/2020/06/08/3rd-grade-paul-klees-magic-square-series/. The difference being that this time students are creating mosaic collages rather than drawings, so we emphasize the terms background, middle ground and foreground, as well an understanding of overlapping elements.
Description of the Unit – Students will be “introduced” to Monet and will learn all about the ways he approached painting the world around him. Students will try to recreate his painting of water lilies, paying attention to their brushstrokes and the colors they choose.
Kindergarten student’s Monet-inspired Water Lilies
Description of the Unit – This delightful unit introduces students to optical illusion art.Students will observe and discuss different examples of optical illusion art, focusing particularly on the work of Bridget Riley. Using basic measurement skills, students will create their own two-color optical illusion design.
Description of the Unit – Students will learn about oil’s resistance to water both in nature and through the media of watercolor and crayon, and explore this resistance via playful experimentation and one finished composition.
Description of the Unit – Students will explore the ISO function on their digital cameras so as to understand how it affects exposure, practicing using it and all previously learned functions to take sharp, interesting nighttime photos.
Activity statement – ISO completes the basic triad of camera functions necessary to understand and manipulate your camera in order to get the shot you want. Our objectives are the following:
Understand what ISO means
Understand what the corresponding ISO would be for various light circumstances
Practice using different ISO’s and examining the results
Take at least one clear night image
What is ISO? With analog cameras, ISO represented the film’s sensitivity to light, which was rated via a number, such as 400. The more sensitive the film to light, the higher it’s rating, or number; in photography it was also referred to as the film being “faster”. Film with low ISO was typically used in bright, daytime settings, and so of course the higher ISO’s were used if it was overcast, night, or a darker indoor scene. There was always a compromise, however, as the higher the sensitivity, the grainier the film—meaning the image would actually look grainy and lack sharpness. Additionally, with analog cameras, whatever film sensitivity you were using you would be stuck with until the roll of film was all used.
With digital cameras, one can adjust the ISO at any time. However, if one is not actually using film, why is there still ISO? Well, to the best of my knowledge, when digital cameras first came out manufacturers co-opted ISO to reflect the sensor’s performance level under given light circumstances, so as to give photographers the same options as one once had on analog cameras, when adjusting the aperture and shutter speed just weren’t enough. As with analog cameras, higher ISO’s also produce more noise, however camera technology has been decreasing this outcome over the years.
So, on a digital camera, if your setting is in low light, your preferred aperture and shutter speed might not allow enough light to reach the sensor, and therefore you would need to opt for a higher ISO.
Now that students have had a few weeks to learn about and practice using shutter speed and aperture, I invite them to use them, along with ISO adjustments, to take sharp nighttime images. The images may also involve the use of motion of some kind to blur light. Students should consider either using a tripod, or setting their cameras on a steady surface to reduce the possibility of blur due to handholding the camera.
I love shooting at night, so I give students examples of my own photos and talk to them about the settings I used, the experience I had while shooting each image and what I learned with each.
As always, in class we go on a photo walk to continue to play with our camera’s settings. The nighttime photos will be the assigned homework.
A student showing curious children her images while out on our class photo walk
Goals – Students should…
Understand:
What ISO is
How ISO affects exposure
Know:
When a high ISO would be used vs. a low one
Be able to:
Adjust the ISO setting on their cameras
Take an image at night that is sharp
Resources and materials –
A digital camera with manual settings
A memory card with enough space for the day’s photo excursion
Fully charged battery
Examples of photos highlighting the day’s lesson (shutter speed manipulation in this case)
Optional: a tripod for sharper nighttime images
Students were assigned the nighttime photography over winter break, so were fortunate enough to take images celebrating the holidays and new year’s eve.
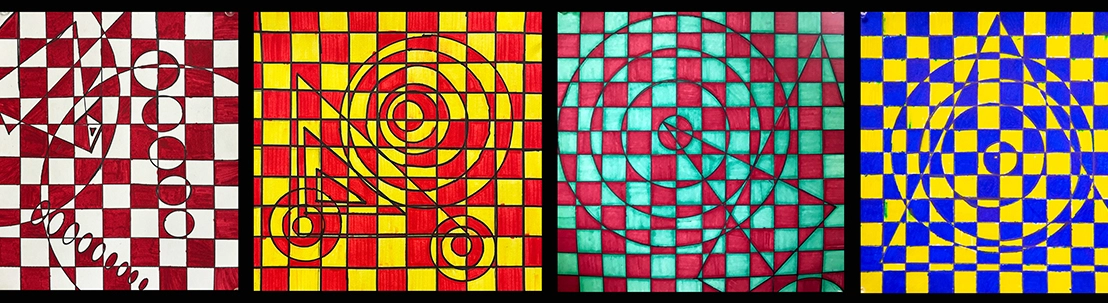
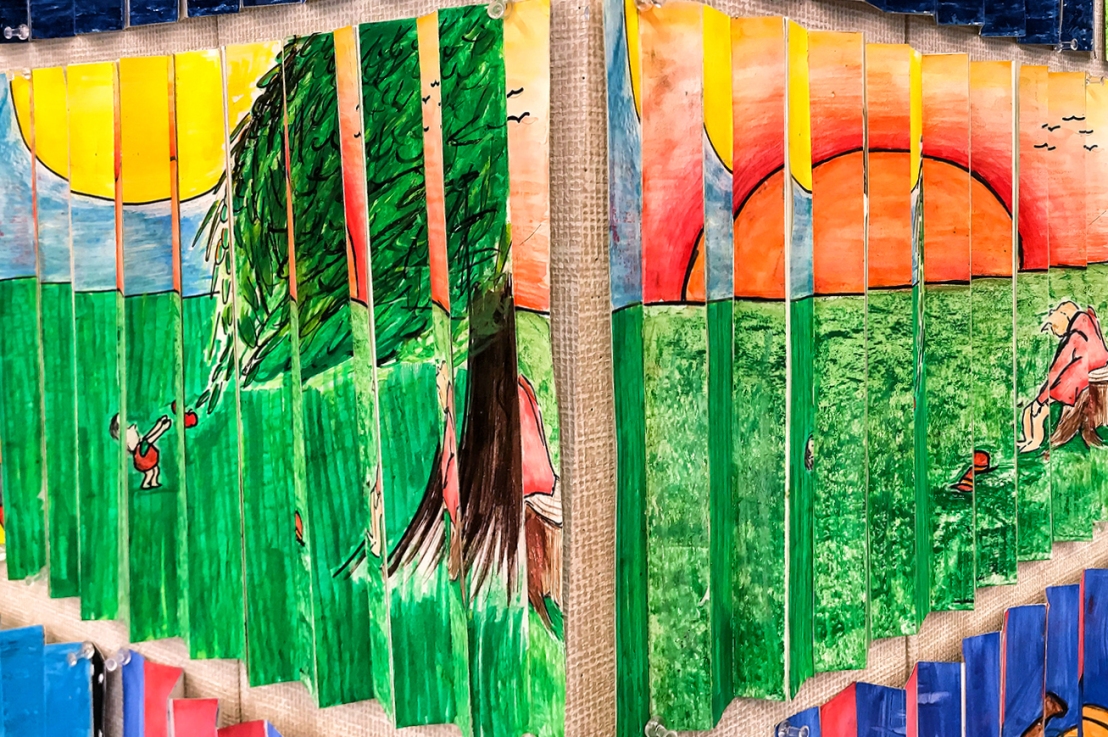
Description of the Unit – Students will examine and discuss the work of artist Yaacov Agam, and through his inspiration they will create their own Agamograph, a kinetic work of art that transforms from one image to another, depending on the viewers’ perspective.
The kinetic Dizengoff Square Fountain by Yaacov Agam
Activity statement – Yaacov Agam is an Israeli artist best known for his pioneering Kinetic Art. His lenticular prints, or Agamographs, made illusory images appear depending on the audience’s viewpoint. These pieces ask one to contemplate change, progress, time, and our role as observer vs. participant. Students will consider images of concepts, creatures or objects which can shift or change in some way, and incorporate their chosen concept into an Agamograph. To successfully create an Agamograph, students will need to make precise mathematical measurements throughout the entire process. Students will have the choice of coloring in their Agamographs in marker, colored pencil, oil pastel and watercolor (for backgrounds)—or a combination of any or all of these media.
The artist Yaacov Agam demonstrating the fluid changeability of one of his kinetic art pieces. Yaacov Agam’s tribute to victims of the AMIA bombing“Visual Prayer for Peace, Hope and Tolerance” by Yaacov Agam
Goals – Students should…
Understand:
The meaning of kinetic art
What an Agamograph is and does
Know:
Who Yaacov Agam is, and the kinds of concepts he explores in his kinetic artwork
Be able to:
Use a ruler to make precise measurements
Think in fractions and apply fractions to paper
Visualize the process of change between two separate images in order to create an Agamograph
Resources and Materials –
Examples of Yaacov Agam’s work, as well as examples of student Agamographs
9×12 white heavyweight (Bristol) paper
12×18 lightweight white paper
Pencils
Erasers
Sharpies (fine and thick point)
Rulers
Colored markers
Colored pencils
Oil pastels
Watercolor
Brushes
Jars
Cutting board
Questions – (first few questions pertain to observing Agam’s work)
What do you notice? What is happening?
How do you think this work is created?
What could the idea of kinetic art symbolize?
What deeper meaning might there be to kinetic art?
What makes kinetic art interesting?
How do you feel about being able to interact with the work of art?
How does this make it different to viewing a static work of art?
What kinds of things can you imagine that transform?
Give examples of two different beings, objects or concepts that can represent a transformation (ie, caterpillar to butterfly, egg in a nest to bird, daytime landscape to nighttime landscape, etc.)
Evaluation – Did students:
Come up with a concept that represents change/transformation?
Successfully construct an Agamograph to represent this transformation?
Informal:
Student questions
Group discussions
Oral responses to essential questions
Elaboration and risk-taking
The following are video representations of 6th grade students’ Agamographs:
The following are photos of 6th grade student Agamographs displaying both sides of each piece:
6th Grade Student Agamograph – Transformation from an otter to an otter skeleton6th Grade Student Agamograph – Transformation from a common rat to Mickey Mouse6th Grade Student Agamograph – Transformation from the Batman searchlight to Batman6th Grade Student Agamograph – Transformation from the little boy to the old man inspired by Shell Silverstein’s “the Giving Tree”
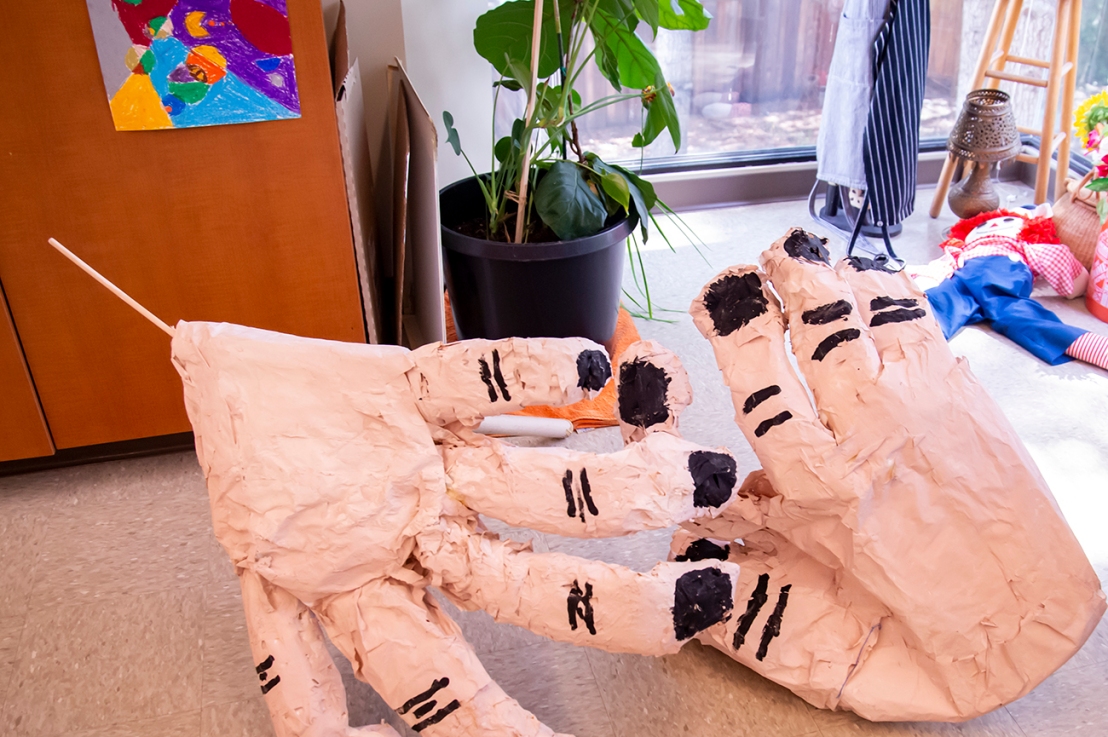
Description of the Unit – Students will conceptualize, design and build props and set pieces for their end-of-year performance. This unit can help anyone who has some kind of event or play to put on and is looking at how students can take full control of the process.
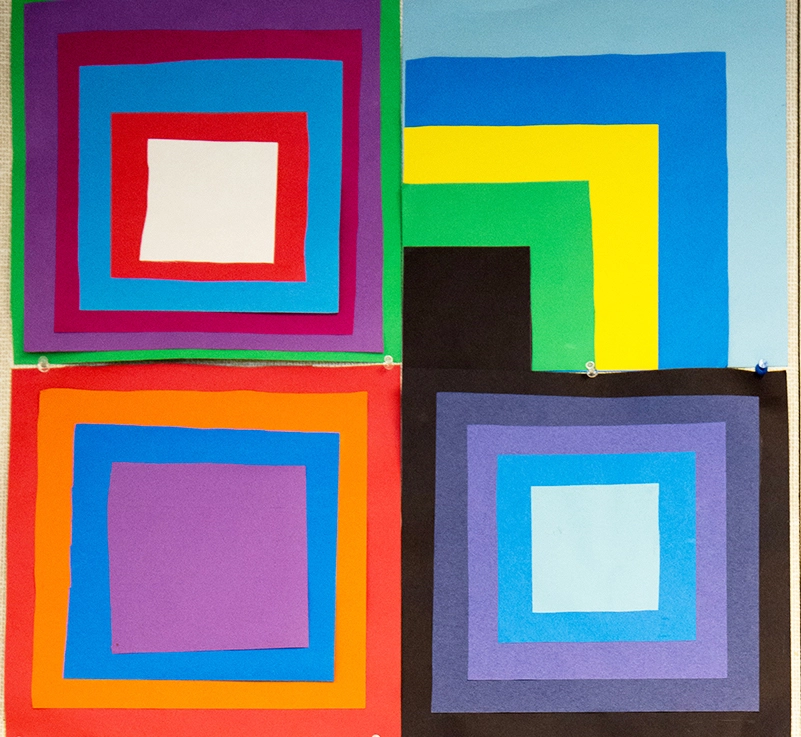
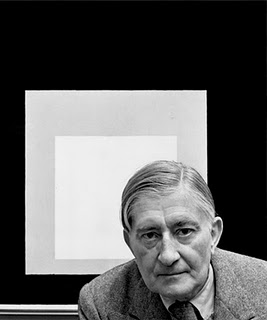
Description of the Unit – Students will explore Josef Albers’ series Homage to the Square, using his artwork and our discussion as a guide to creating their own series of squares, concentrating on contrast and depth.