Description of the Unit –
Students will learn a little about the history of marbled paper, and will observe the different kinds of designs known to the craft. In groups they will then make their own marbled paper

Activity statement –
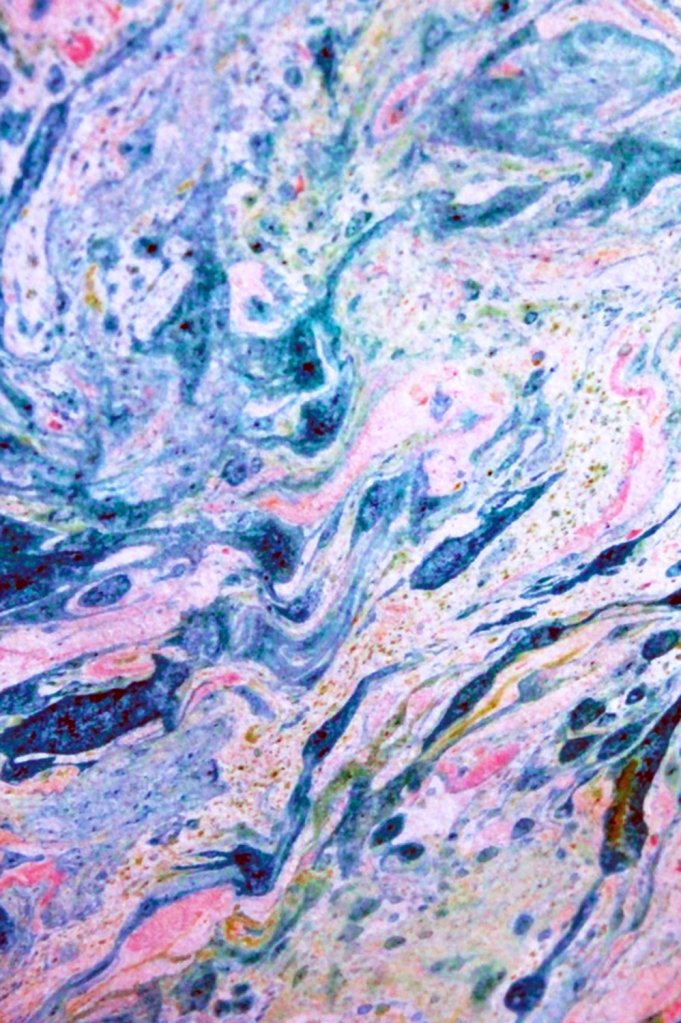
The art of paper marbling is quite ancient, and though no one is exactly sure when it originated (due to paper not being as durable as other materials), most historians believe it’s been around since at least 10th century Japan. The craft made its way to Turkey, who also developed its own paper marbling tradition, (Ebru; it is thought originating from the 15th century), and eventually marbling made its way to Europe, with various new styles springing out of different countries, including a very distinct Venetian style known as Bouquet. One of the aspects of paper marbling that make it such a treasured art form is that no single sheet of marbled paper is exactly the same as another, even when made by the same artist employing the same colors and the same techniques.
The process of paper marbling was kept a secret among artisans for many years. The artists were an elite few, usually making the paper for official or religious documents and books. Bookmaker and marbling artist Charles Woolnough brought the art to a wider audience with his 1853 book, The Art of Marbling. Today many artists around the world continue to practice and innovate paper marbling. Children thoroughly enjoy learning the art of marbling: dropping the inks into the liquid base, and using combs or stylus to spread the ink across the paper into different designs. They love making something uniquely their own. Once completed, some students will later use their marbled paper for cards, collages or other projects, but most are so fascinated by the paper itself, and they want to leave just as it is.
True marbling ink and solutions are expensive, so the kinds made for classrooms aren’t as good as those. Also, depending on the availability of our supplies in the classroom, I almost always have the students work in small groups over one tray, taking turns to make designs on the paper.
Goals –
Students should…
Understand:
- A little of the history of paper marbling, including who was allowed to use paper marbling and why
Know:
- What paper marbling is
Be able to:
- Identify maybe two or three distinct styles of paper marbling
- Make marbled paper
Objectives –
Students will: Work in groups to create a variety of marbled paper
Resources and materials –
- Examples of marbled paper from different regions
- Classroom paper marbling kits (I’ve sometimes used this kit)
- Bristol or other medium to heavyweight paper
- Deep trays (these work great)
- Drying rack or twine and clothespins to hang dry paper
Questions –
- Why do you think marbled paper was invented?
- What do you notice about the designs in (x example of marbled paper)?
- What do you notice about the colors in (x example of marbled paper)?
- Before I explain the process to you, how do you think marbled paper is made?
- How do you think the designs are made?
- What could you (or would you) use marbled paper for?
Evaluation –
- Group discussions
- Response to essential questions
- Cooperation among groups